French braids are a classic hairstyle that can be worn in a variety of settings, from casual outings to formal events. If you’re a beginner, don’t worry – with a little bit of practice, you can learn how to French braid like a pro. In this article, we’ll break down the steps to creating a French braid, so you can create this elegant hairstyle on your own.
French braiding can initially seem intimidating, but anyone can learn how to do it with practice and patience. Here are the steps to French braid your hair:
Step 1: Prepare Your Hair
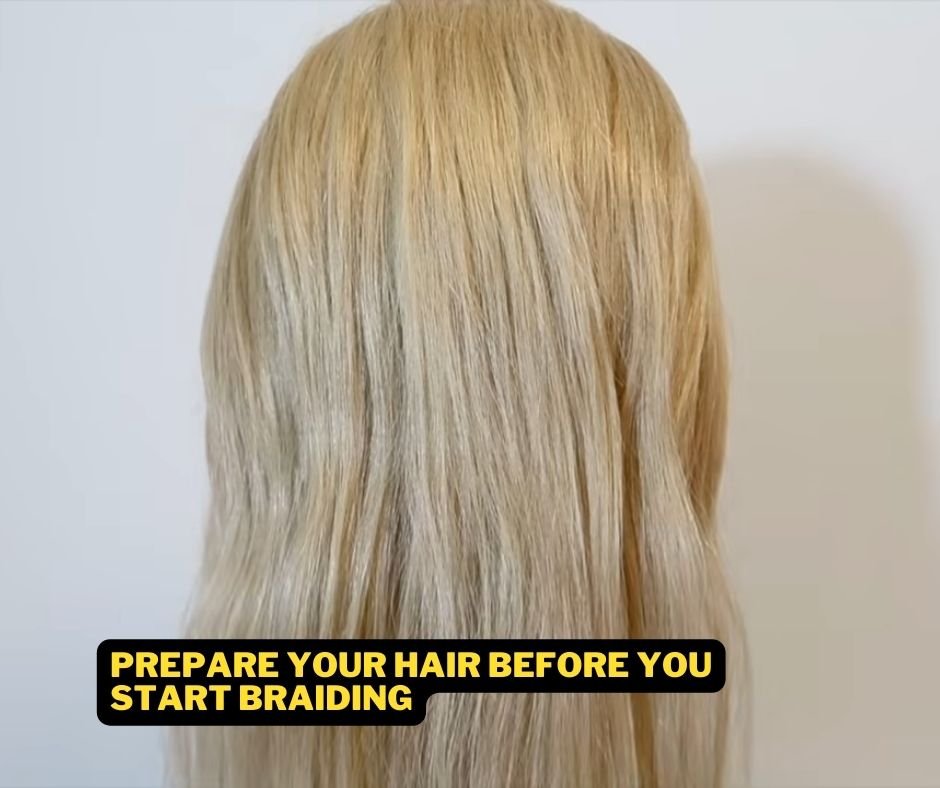
Before you start braiding, you must ensure your hair is prepped and ready to go. Begin by brushing your hair thoroughly to remove any tangles or knots. Then, decide where your French braid begins – you can start at the crown of your head or at the front of your hairline. Once you’ve decided on your starting point, use a comb or fingers to section off a small piece of hair.
Step 2: Divide Your Hair Into Sections
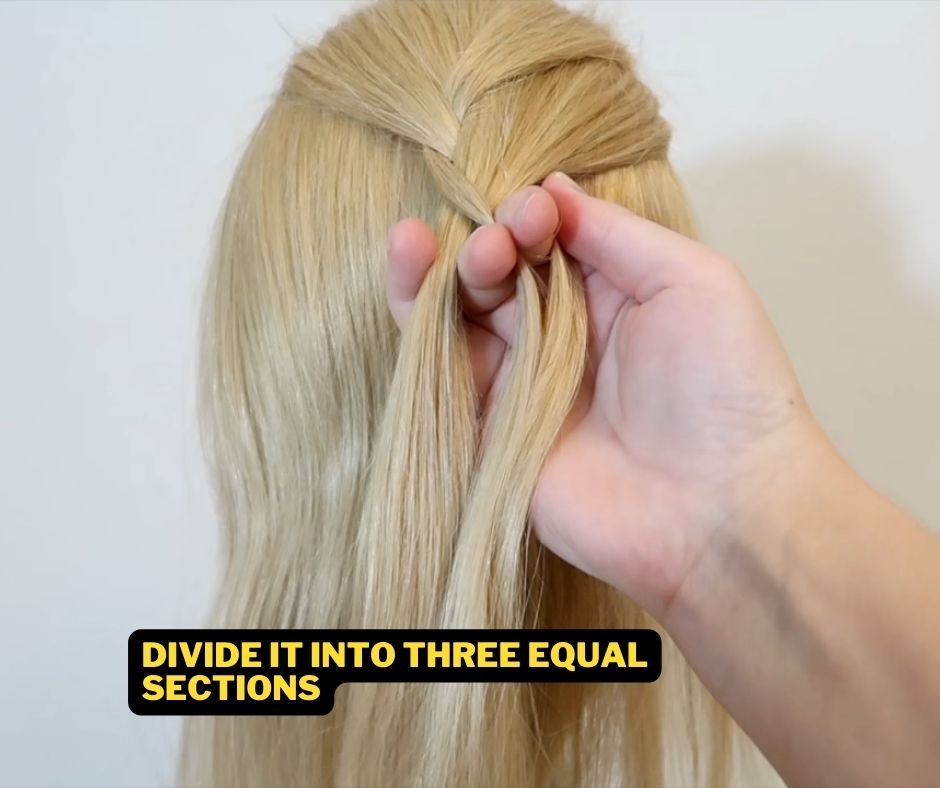
Once you have a small section of hair, divide it into three equal sections. Hold two sections in your right hand and one in your left hand. The section on the left will be your “starter” section, and the other two sections will be woven into the braid.
Step 3: Begin Braiding

To begin the braid, take the right section of hair and cross it over the middle section. Then, take the left section and cross it over the middle section. Repeat this process, crossing the right section over the middle, then the left section over the middle, until you have a few rows of braided hair.
Step 4: Add More Hair
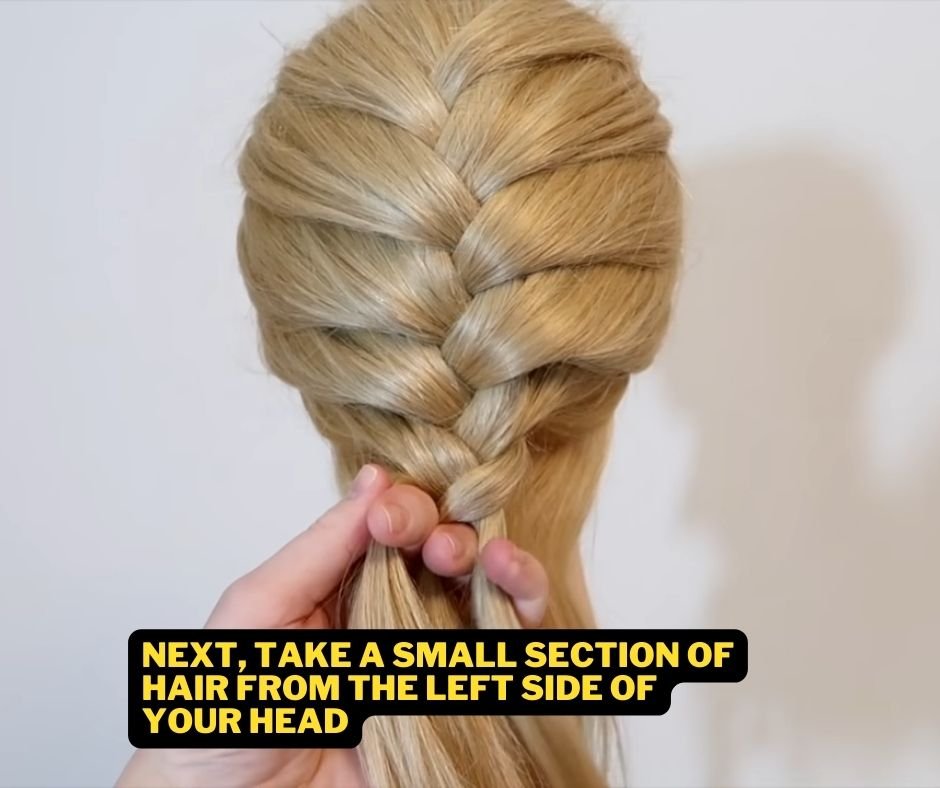
Once you have a few rows of braided hair, add more hair to the braid. To do this, take a small section of hair from the right side of your head, and add it to the right section of the braid. Then, cross the right section over the middle section as usual. Next, take a small section of hair from the left side of your head, and add it to the left section of the braid. Then, cross the left section over the middle section.
Step 5: Continue Braiding
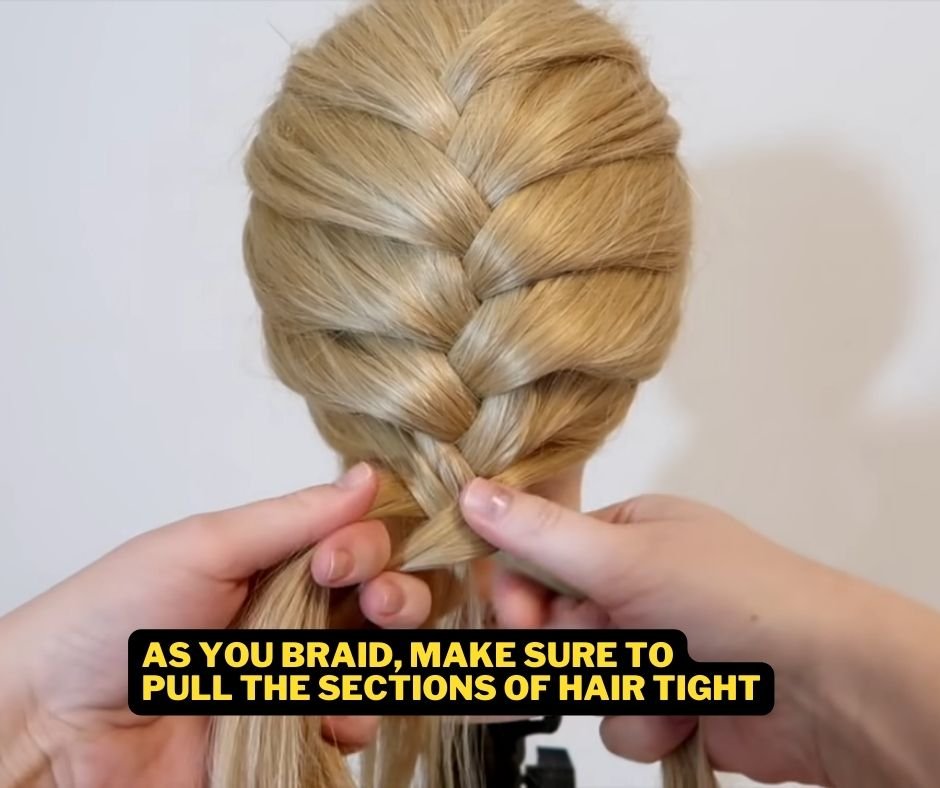
Continue this process, adding small sections of hair to the braid. Remember to cross the right section over the middle, then the left section over the middle, and so on. As you braid, make sure to pull the sections of hair tight so the braid stays neat and even.
Step 6: Finish the Braid
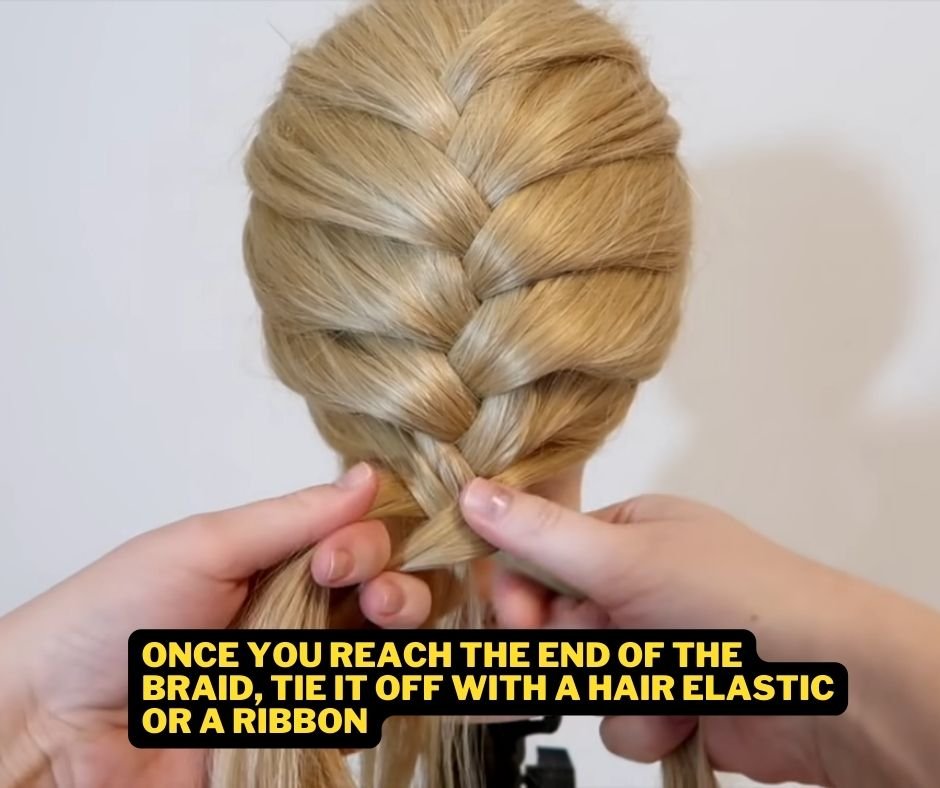
When you reach the end of your hair, continue braiding the remaining hair in a regular three-strand braid. Once you reach the end of the braid, tie it off with a hair elastic or a ribbon.
Step 7: Adjust the Braid

Once you’ve finished your French braid, you can adjust it to look how you want it to. Gently pull on the sides of the braid to loosen it up, creating a more relaxed, casual look. You can also use bobby pins to secure any loose strands or flyaways.
And there you have it – a step-by-step guide to creating a French braid for beginners. With a little practice, you can create this elegant hairstyle quickly!
FAQSTo start a French braid, take a small section of hair at the top of your head and split it into 3 equal sections.
To French braid, cross the outer sections of hair over the middle while adding in new sections of hair as you go along.
Yes, you can French braid your own hair with practice.
A French braid can last for several hours or even all day, depending on how well it’s secured and styled.