I want to try makeup soon, but I don’t know what to start! Where should I buy the tools? Is it okay at a convenience store or drug store? If you do it yourself, it will be flashy. How to make natural makeup that does not float at school or company…? We will introduce a lot of information that you can be cute, such as choosing recommended cosmetics and makeup techniques that will not fail.
First Makeup…!
Makeup is an essential part of fashion. If you look at magazines and SNS, you can see that trend makeup is featured as a matter of course. However, information on magazines and SNS can be a high hurdle for children who make up for the first time. When I tried to imitate the appearance, it became darker. When I thought I could finally do it, the makeup came to me. There are many such mistakes. Therefore, this time, we will introduce a makeup method that is hard to fail for beginners who are just starting to make up. Let’s learn how to choose the right cosmetics for the first time and the makeup points and become a face with increased likability.
The First Time I Taught You How to Make Up.
Which has a good reputation for make-tech that brings out the charm of the top stylist model of the hair salon.
[step1] We Recommend Choosing Cosmetics From Petit Plastic!
Makeup is essential from the first cosmetic selection! First of all, let’s start by trying out the cosmetics you are interested in. Petit plastic cosmetics come in many colors and types, and you can easily buy them at drug stores and convenience stores. You can try various cheap things, so you can choose by the intuition of “maybe you like this color” or “maybe cute”! Let’s search for the colors and textures that match the image you want to be.
If you want to know a color that suits you better, choose a unique color!
[step2] Minimal Tools Other Than Cosmetics Are Ok!
Makeup is not only cosmetics but also makeup tools are indispensable. However, beginners don’t have to prepare everything first. “Many tips and brushes used for eyeshadow come with cosmetics, so you only need the minimum required items. If you dare to buy it, use a cheek brush. The included cheek brush is small in size. There are many things, and it is often difficult for beginners. Also, a blusher to raise the eyelashes is essential.
[step3] Now Practice! Let’s Proceed With Makeup for Each Part.
After collecting cosmetics and tools, start making up! Finally, let’s finish each part in an order that makes it easy to adjust the balance.
[Base Makeup Highlights]
“The point is to make the skin look plain. If you have bluish skin, choose a pink base, and if you are concerned about redness or bears, choose a green base to make your skin look beautiful. The foundation does not become too matte. Liquid type is recommended. Choose cosmetics that even out the skin tone “(MAO)
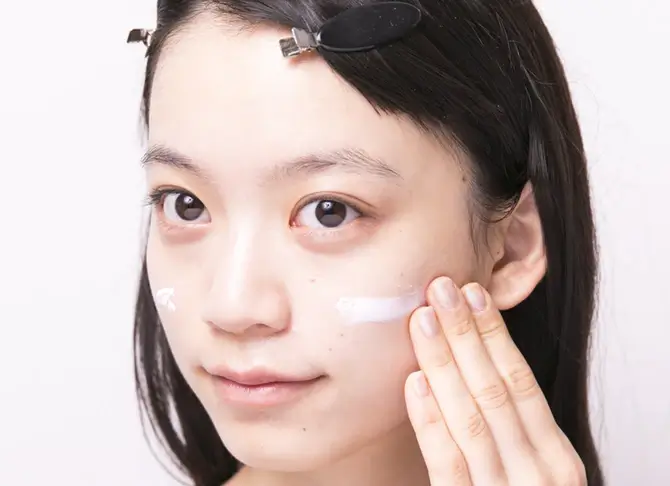
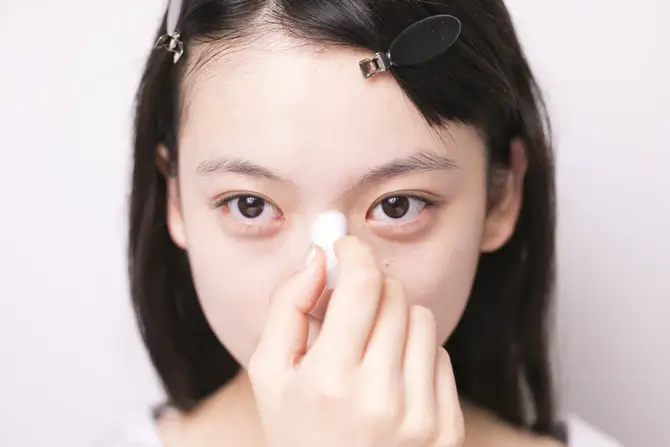
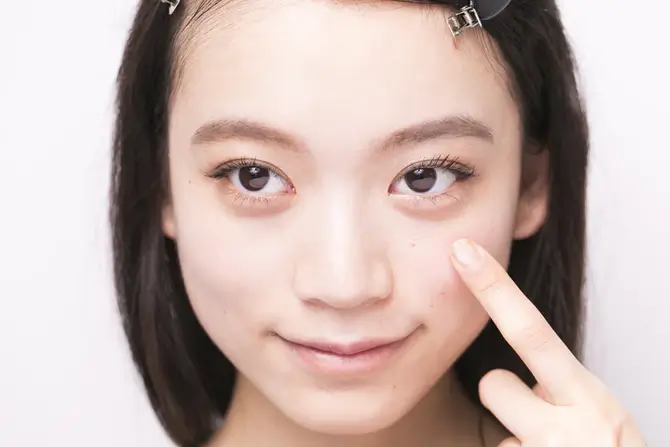
(1) Spread the base over the entire face
Place an on the center of the cheek and spread it all over. Thin the forehead and chin with about half the amount without applying to the edges. If you spread it out, you will feel more bare skin!
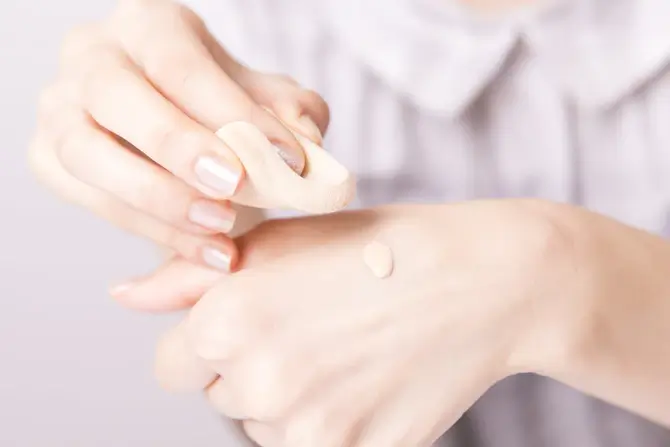
(2) Put the foundation on the back of your hand
Put b on the back of your hand and then apply it to the puff little by little. Note that the liquid will stick too much if you put it directly on the drag. It will cause thick makeup that looks old.
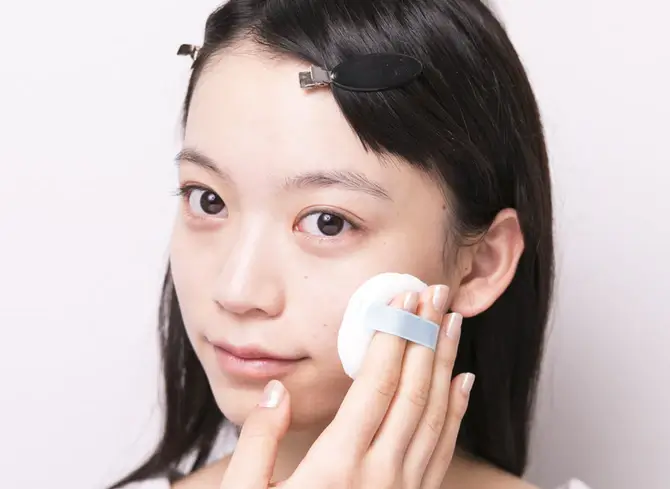
(3) Apply foundation from the nose and T zone
Apply to areas where sebum is likely to come out, such as the creases on the nose and the T zone. Gradually apply it to the kiwi as if you were hitting it with a puff.
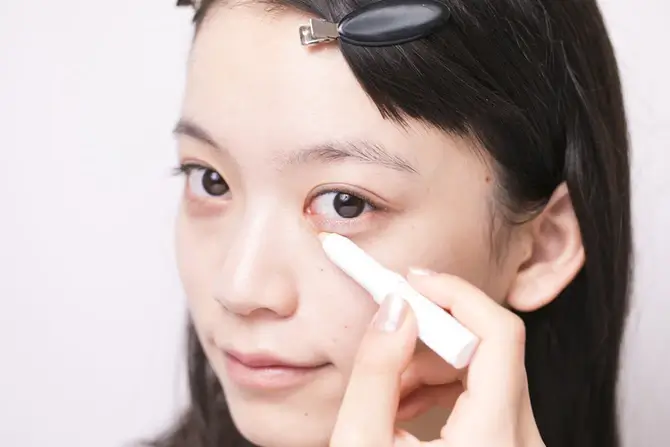
(4) Place the concealer under your eyes or on the part you care about.
To make the white eyes look bright, add c from the inner corner of the eye to the edge of the eye. Put it under the nose and corners of your mouth where you are worried about pores, and avoid making your lips look dull in the shadows! Concealer is easy to get used to if you choose one that is slightly lighter than your skin color!
(5) Put the finishing powder
They are placed on the entire face. Not only will the foundation last longer, but the powder particles will make your skin look beautiful.
(6) Put a highlight on the nose
Place e from between the eyebrows along with the nose. It will naturally make your nose look taller.
(7) Put highlights under the eyes and on the cheeks
Also, put e under your eyes and in the cheek triangle zone. If you shoot light here, the transparency of your skin will increase dramatically.
[Eyebrow Makeup]
“The eyebrows are not too dark, not too thick, not too bent. If you make them slightly lighter than your hair color and slightly parallel, it will look cute!”
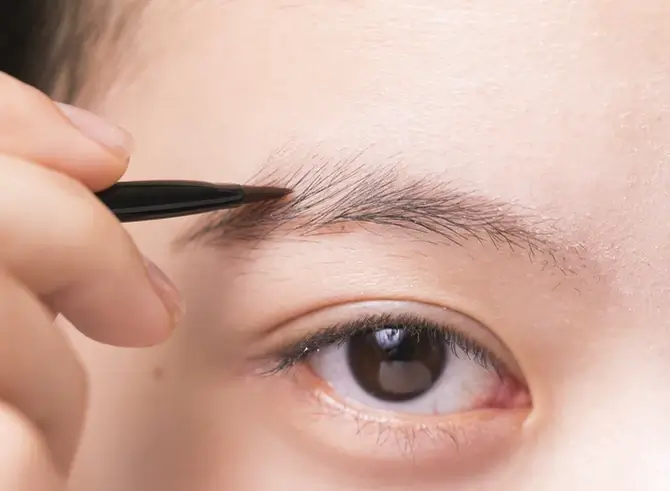
(1) Take a frame along with the shape of the end of the eyebrows
Draw with the pencil so that the outer corner of the eyebrow is on the extension of the outer corner of the eye from the nose. Even if the bottom of the eyebrows is originally dark, it is recommended to frame it according to the ideal shape.
(2) Fill the gaps in the hair with powder eyebrow
Mix the powder eyebrow of b in color and place it in the gap where there is not enough hair if you fill it with an image that evens out the coat.
(3) Put powder on the inside of the eyebrows and blur
With the same color as 3, apply a thin layer of hair on the inside of the eyebrows to blur it. If you thicken the inside of your eyebrows, you will think you are masculine and too strong. It’s just right to confuse it lightly with a bright color!
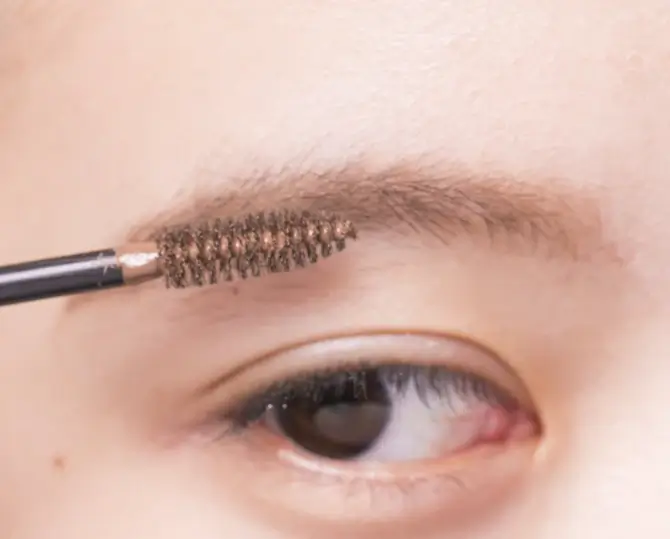
(4) Apply eyebrow mascara while adjusting the coat
Turn on the c eyebrow mascara with the image of raising hair from bottom to top! You can color it evenly by applying it upside down once and then matching it with the hair flow.
[Eye Makeup]
“If you create a gradation based on brown, the eyelids will have a deeper depth, and the eyes will be rounded and cute. The trick is not to fail to apply from the lightest color. With the soft hue, the lashes are raised firmly and black.
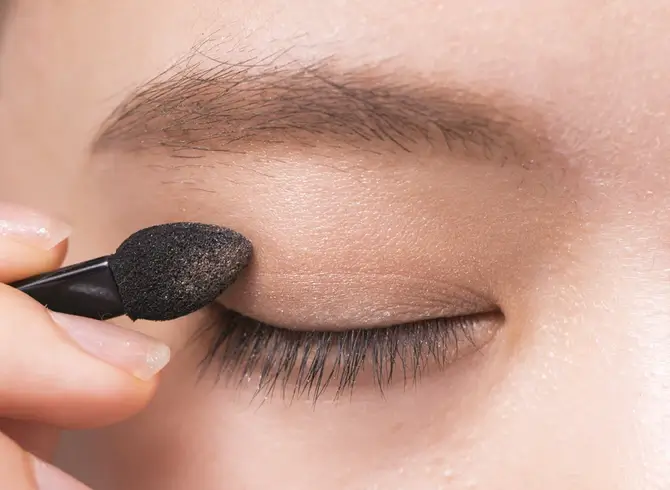
(1) Put the base color of eye shadow on the eye hole
Select the lightest color from the eye shadow and put it on the entire eye hole (eyelid). The base color depends on the eyeshadow, so check the instructions.
(2) Put the second darkest color on the double width
Overlay the color at the bottom right of a just above the double width. It is to select the second darkest color and put it on it.
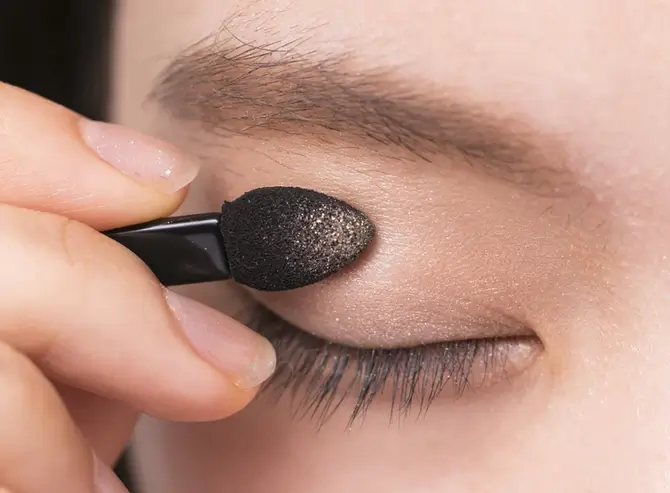
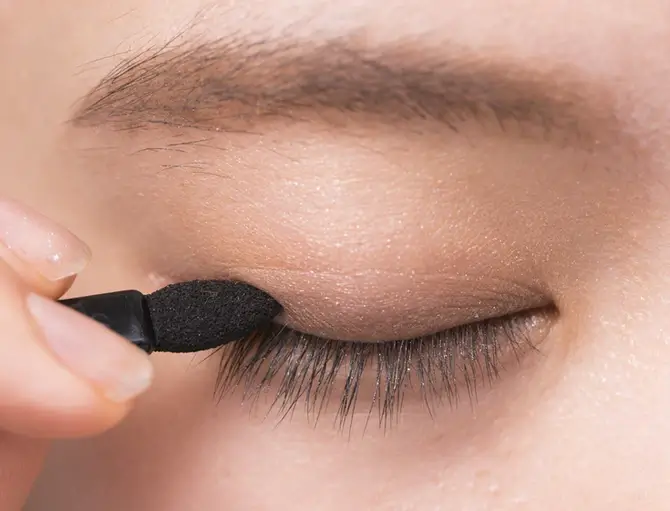
(3) Put the darkest tightening color on the edge of your eyes
Layer the darkest color at the bottom left of an on your lashes’ lashes. Applying gradually with a thin tip is recommended because it is easier to use!
(4) Put the glitter color on the torn bag and black eyes
First, put the glitter color on the lower right of the entire lower eyelid to make the torn bag plump. After that, it is also turned on on the black eyes. By doing this, you can make your black eyes look extensive and impressive.
(5) Raise the eyelashes with an eyelash curler and apply a mascara base.
After raising the lashes firmly with the eyelash curler, turn on the mascara base of b over the entire lashes. It will improve the durability and growth of the mascara.
(6) Place mascara on the upper and lower eyelashes
Layer c mascara firmly from the base of the lashes. It is GOOD to put the lower lashes vertically lightly.
[cheek Lip Edition]
“The cheeks and lips are the easiest parts to bring out the cuteness. To make a face more loved, choose pink that is hard to float and dull. It is to give a slight complexion.”
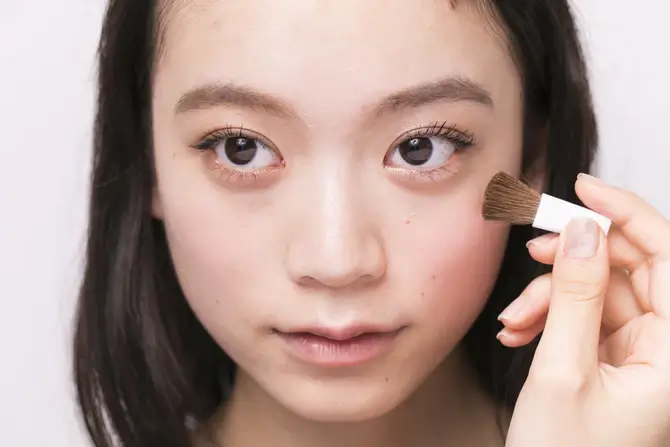
(1) Put the dark color of the cheek on the high position of the cheeks
Using the blush of a, put a dark pink pompon from the side of the nose to the bottom of the eyes. The point is to put it in a round shape, paying attention to the high position of the cheeks!
(2) Stack and spread cheeks
Spread b from the inside to the outside from around the kneaded cheek of a. By layering cheeks, and you can express a more natural complexion.
(3) Apply lip gloss directly
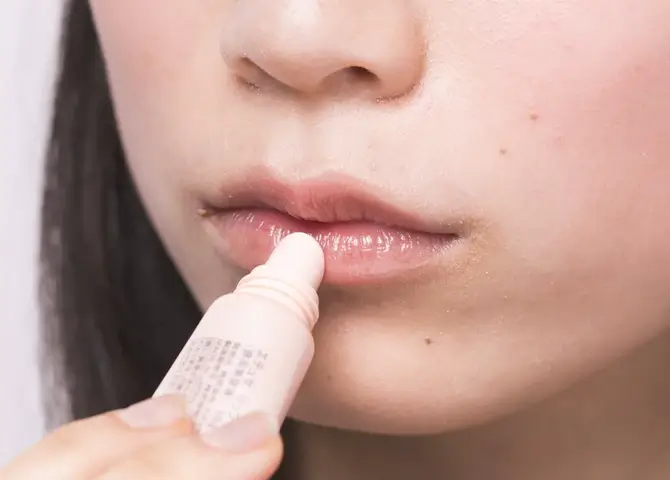
Apply lip gloss directly to the entire lips to moisturize. If the vertical wrinkles disappear and the lips are plump, they will not stand out even if the lips are layered after this.
(4) Take the lip with your finger or brush and let it blend in.
Take the d lip with your finger or brush and place it on the pompon and lips. You can apply the lip directly, but it isn’t easy, so it’s a good idea to avoid it first.
If You Remember This, There Is No Problem With Your Make Debut.
How was the makeup technique that even beginners can be cute? Let’s master and first create a natural, likable face. Start practicing from the basics and try to have a fun makeup life.


